The ESP32-H2 module of the HMI Advance AI Display utilizes ZigBee technology to build a wireless Internet of Things
ZigBee is a low-power, self-organizing wireless communication technology that is widely applied in fields such as smart home, industrial monitoring, and environmental monitoring. The tutorial of this lesson will guide you on how to operate ZigBee devices and build the foundation of a ZigBee network.
1 Preparation
Hardware Devices
-
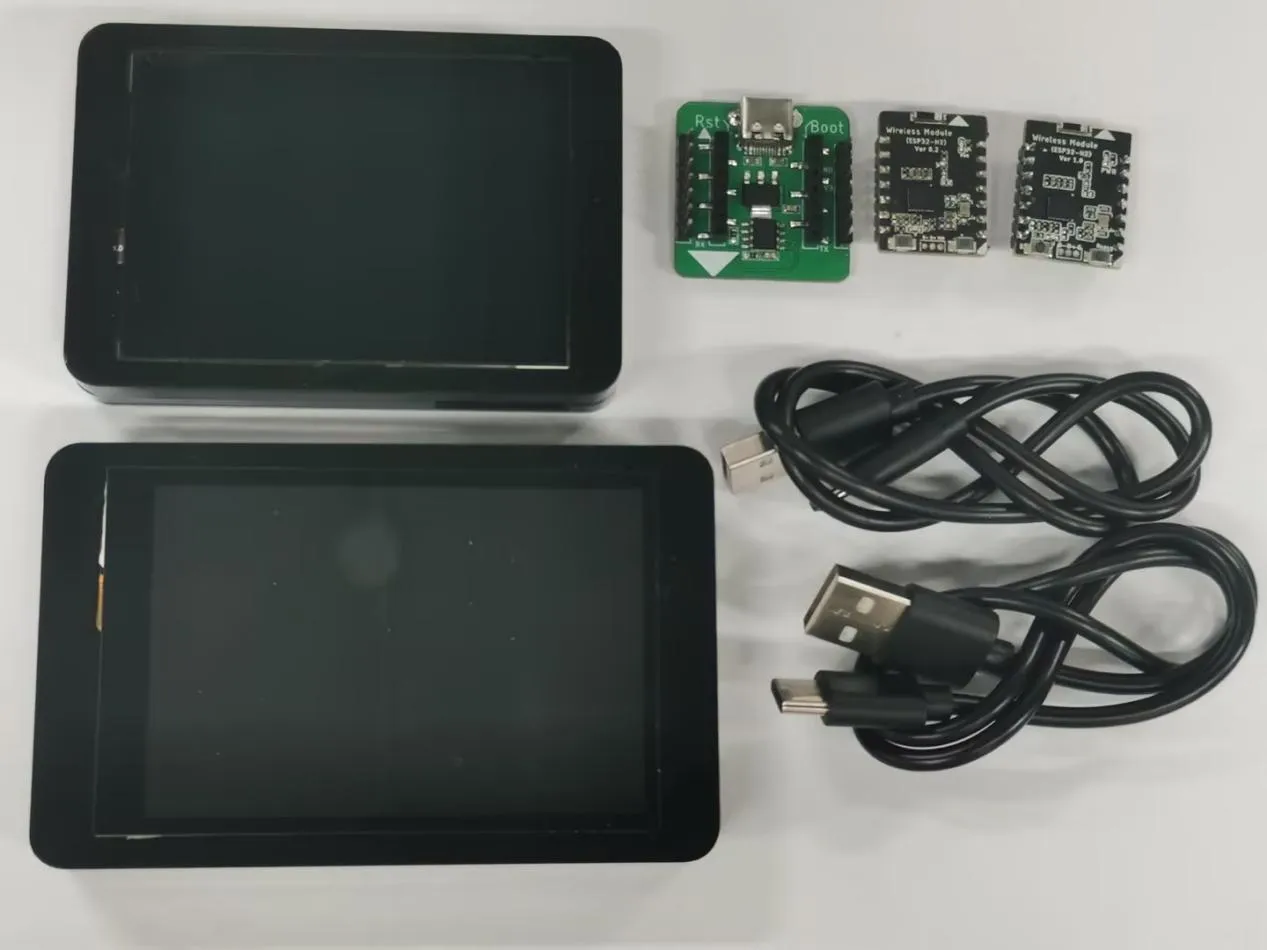
Two CrowPanel Advance HMI ESP32 AI Displays
-
Two ESP32-H2 modules
One of the ESP32 - H2 modules is configured as a ZigBee coordinator. As the core of the network, it is responsible for starting and managing the entire ZigBee network.
The other ESP32 - H2 module is configured as a ZigBee end device. It is used for data collection or performing control tasks, such as temperature and humidity sensor nodes, smart switch nodes, etc.
-
Programmer: It is used for burning the code into the ESP32-H2 module.
-
Two TYPE-C data cables
Tools and Software
Arduino IDE: Used for writing, compiling, and debugging ZigBee applications. In this tutorial's example, the Arduino IDE version is 2.3.3.
The ESP32 board support package version in Arduino IDE is 3.0.2.
Please refer to the installation tutorial from the first lesson.
2 Build the ZigBee Network
Crowpanel Advance HMI AI Display Configuration:
Open the folder that comes with this lesson.
Click the link below to download the code for this lesson:
If you are using a 7.0 size, 5.0 size or 4.3 size, please use the code provided in the link below:
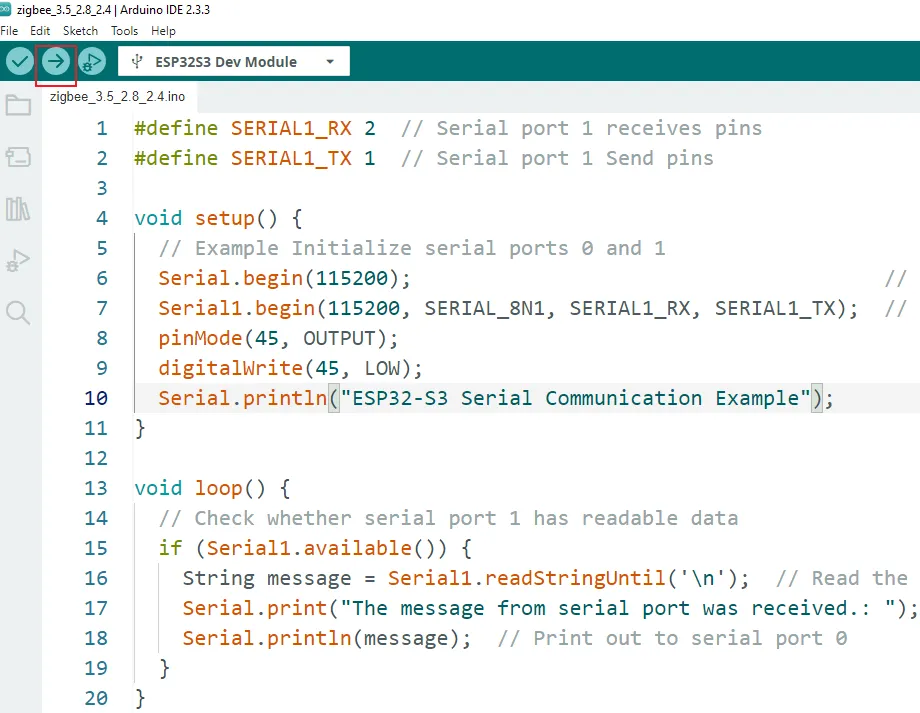
If you are using a 3.5 size, please use the code provided in the link below:
If you are using a 2.8 size or 2.4 size, please use the code provided in the link below:
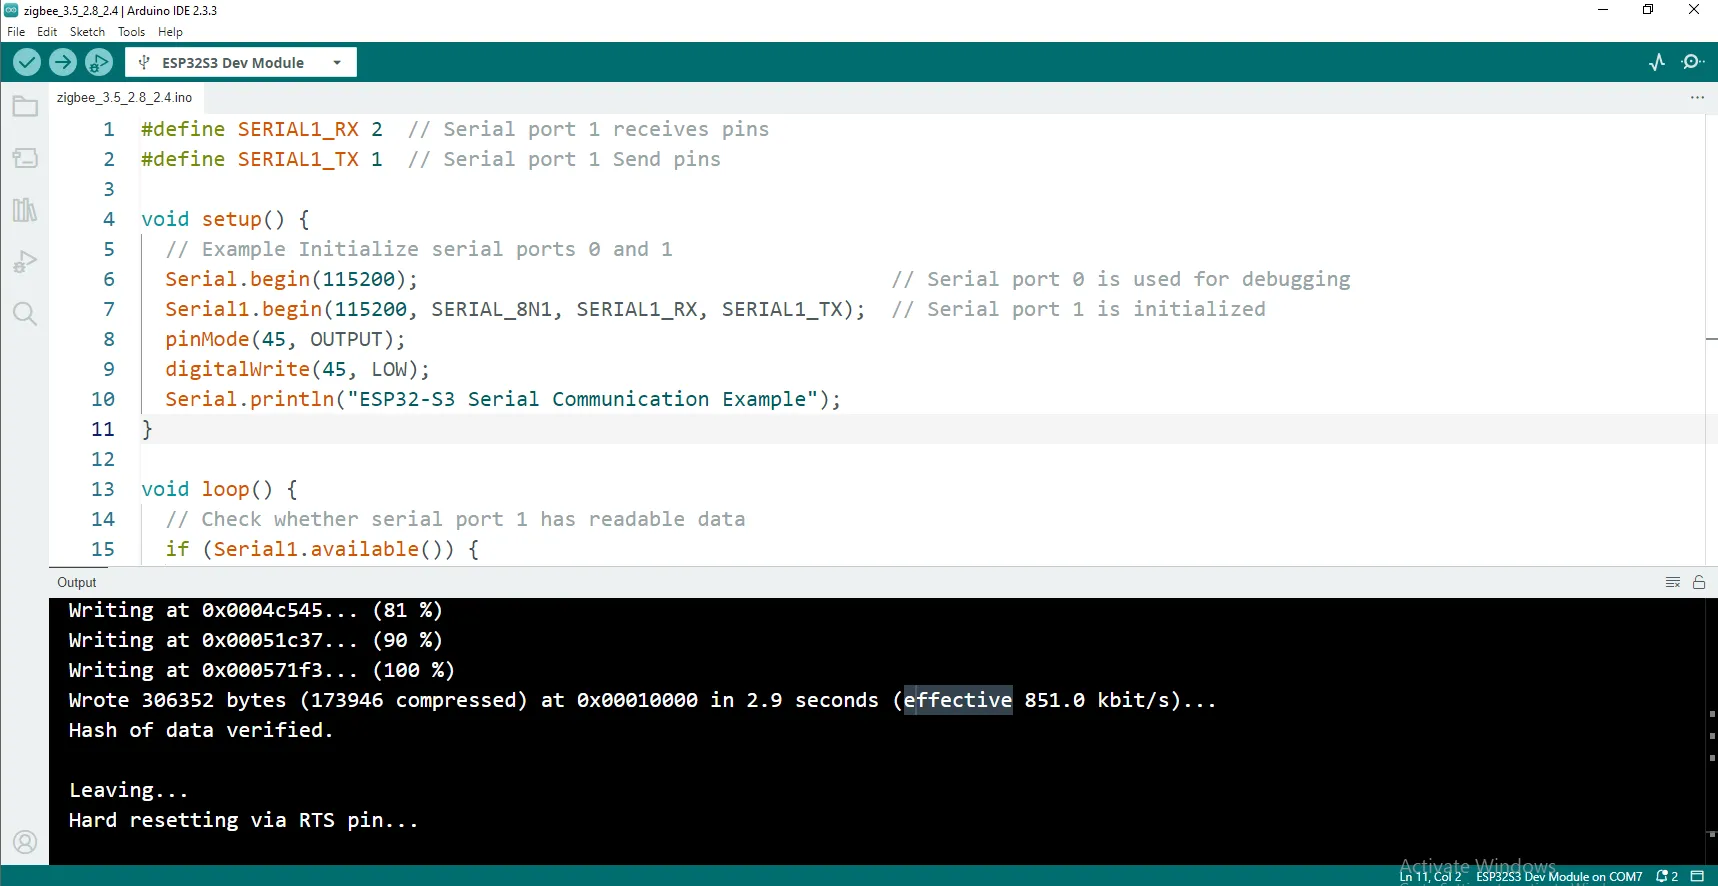
Right-click and use Arduino to open the code corresponding to the development board's model. The function of this code is to enable serial communication between the Crowpanel Advance HMI AI Display and the ESP32 - H2 module.
Note: In this lesson, we'll use the small-sized development board as an example. The operation process for the large-sized one is the same, except that you need to set the function select keys to 01.
Connect the Crowpanel Advance HMI AI Display to the PC.
Select the corresponding hardware configuration.
For specific configuration details, please refer to the teaching content of Lesson 1.
Click "Upload" and wait for the burning process to complete.
Coordinator configuration
-
Upload the program:
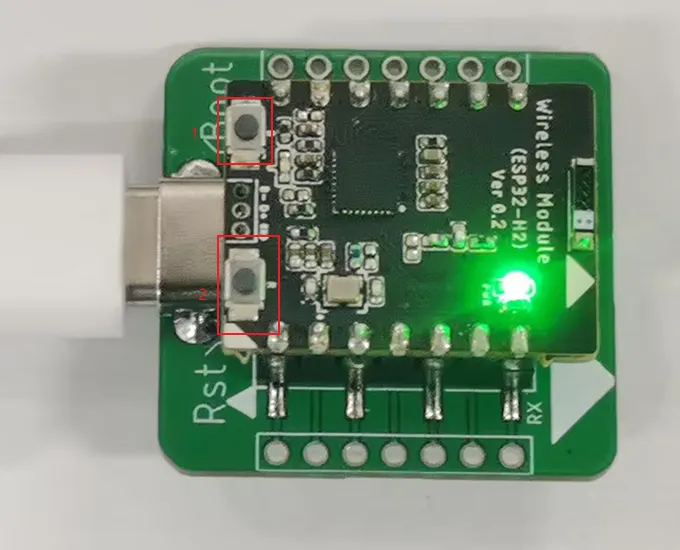
Insert the ESP32-H2 module into the programmer, and connect the programmer to the computer.

First, press the boot key, then briefly press the reset key, and finally release the boot key to make the module enter the waiting-for-burning mode.
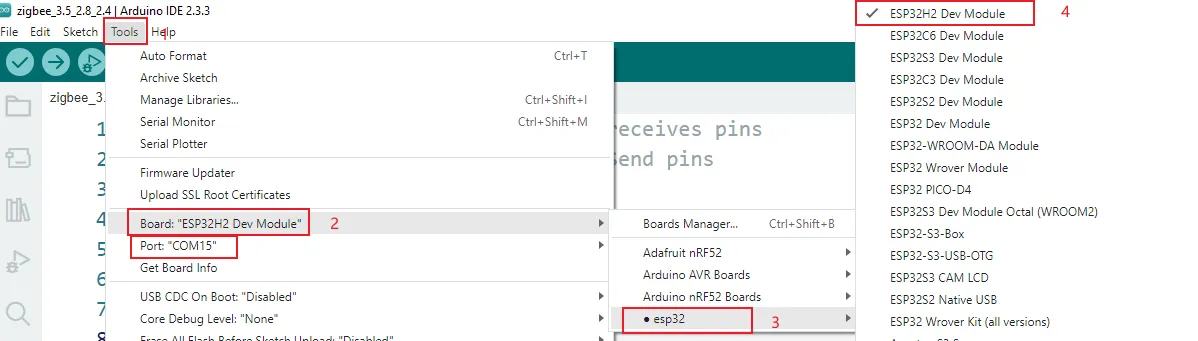
Open Arduino and select the corresponding development board (ESP32-H2 Dev Module) and the corresponding port.
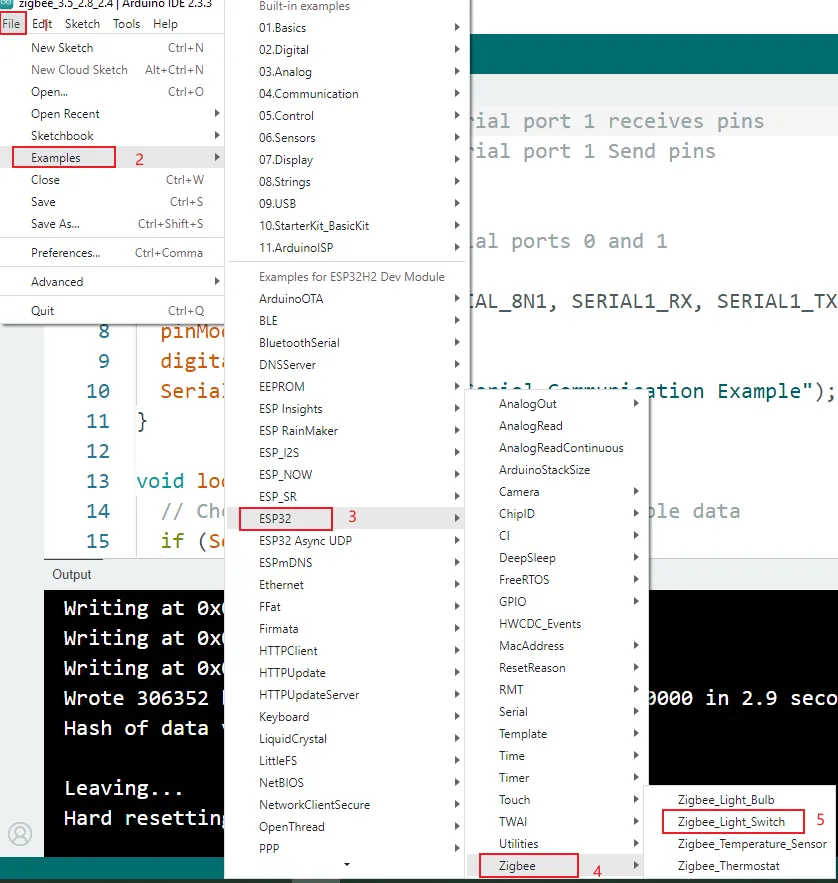
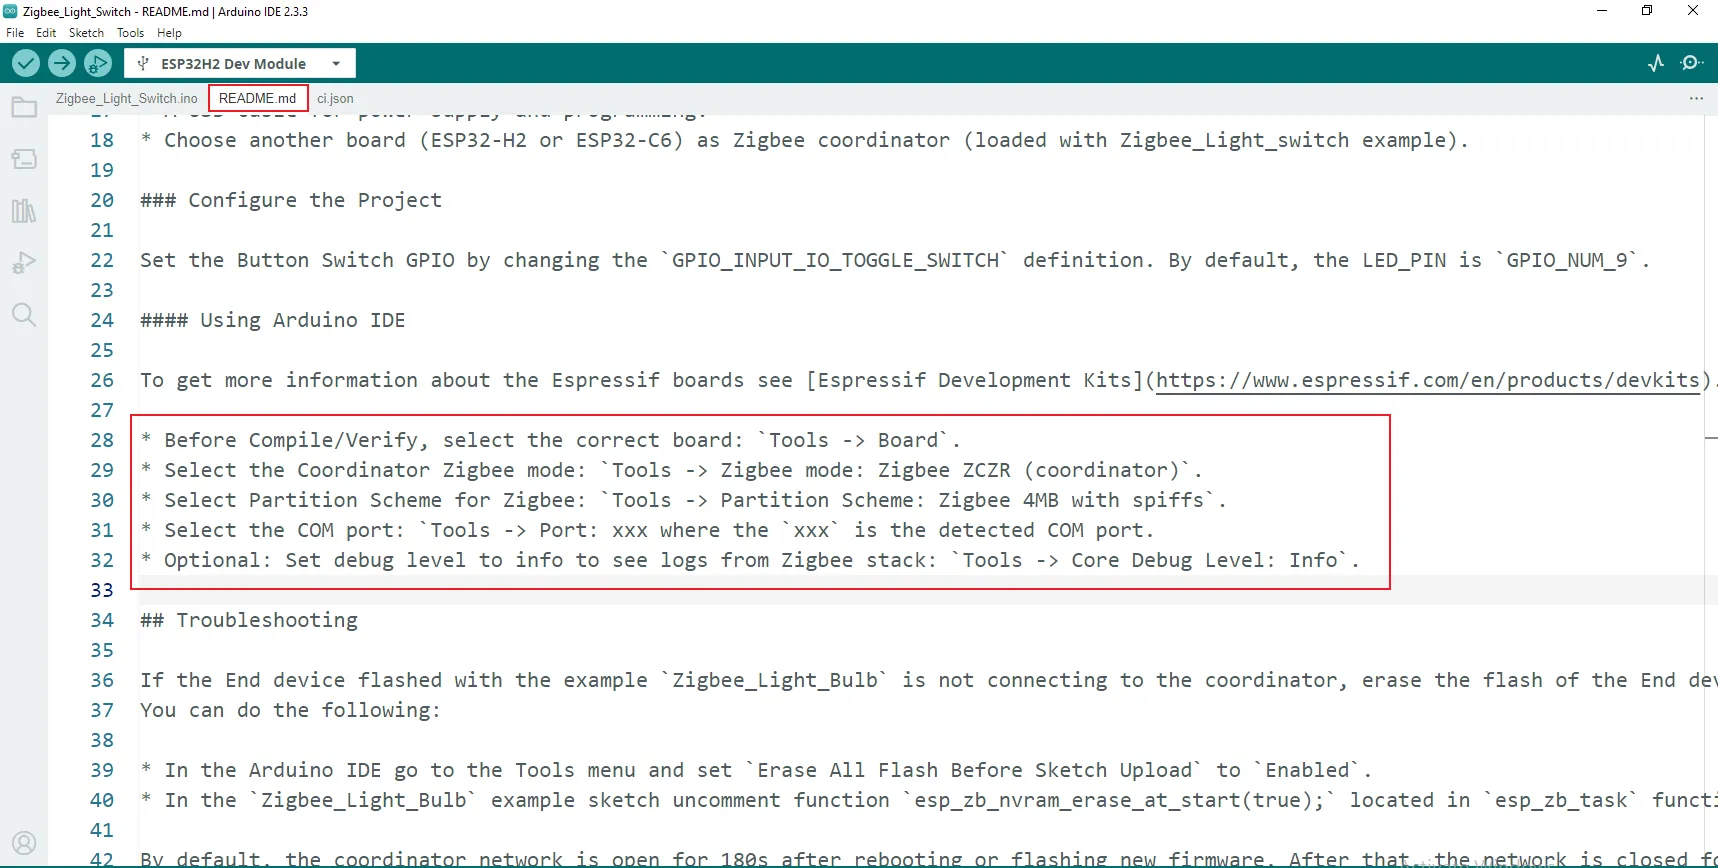
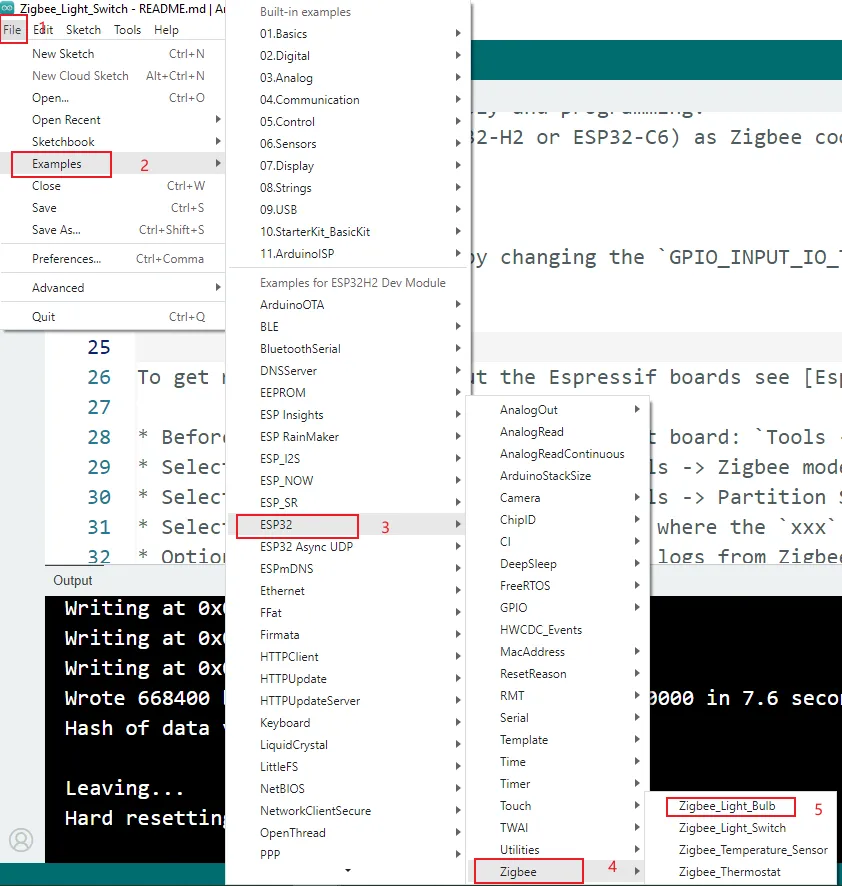
Open the official sample routine that comes with the development board.
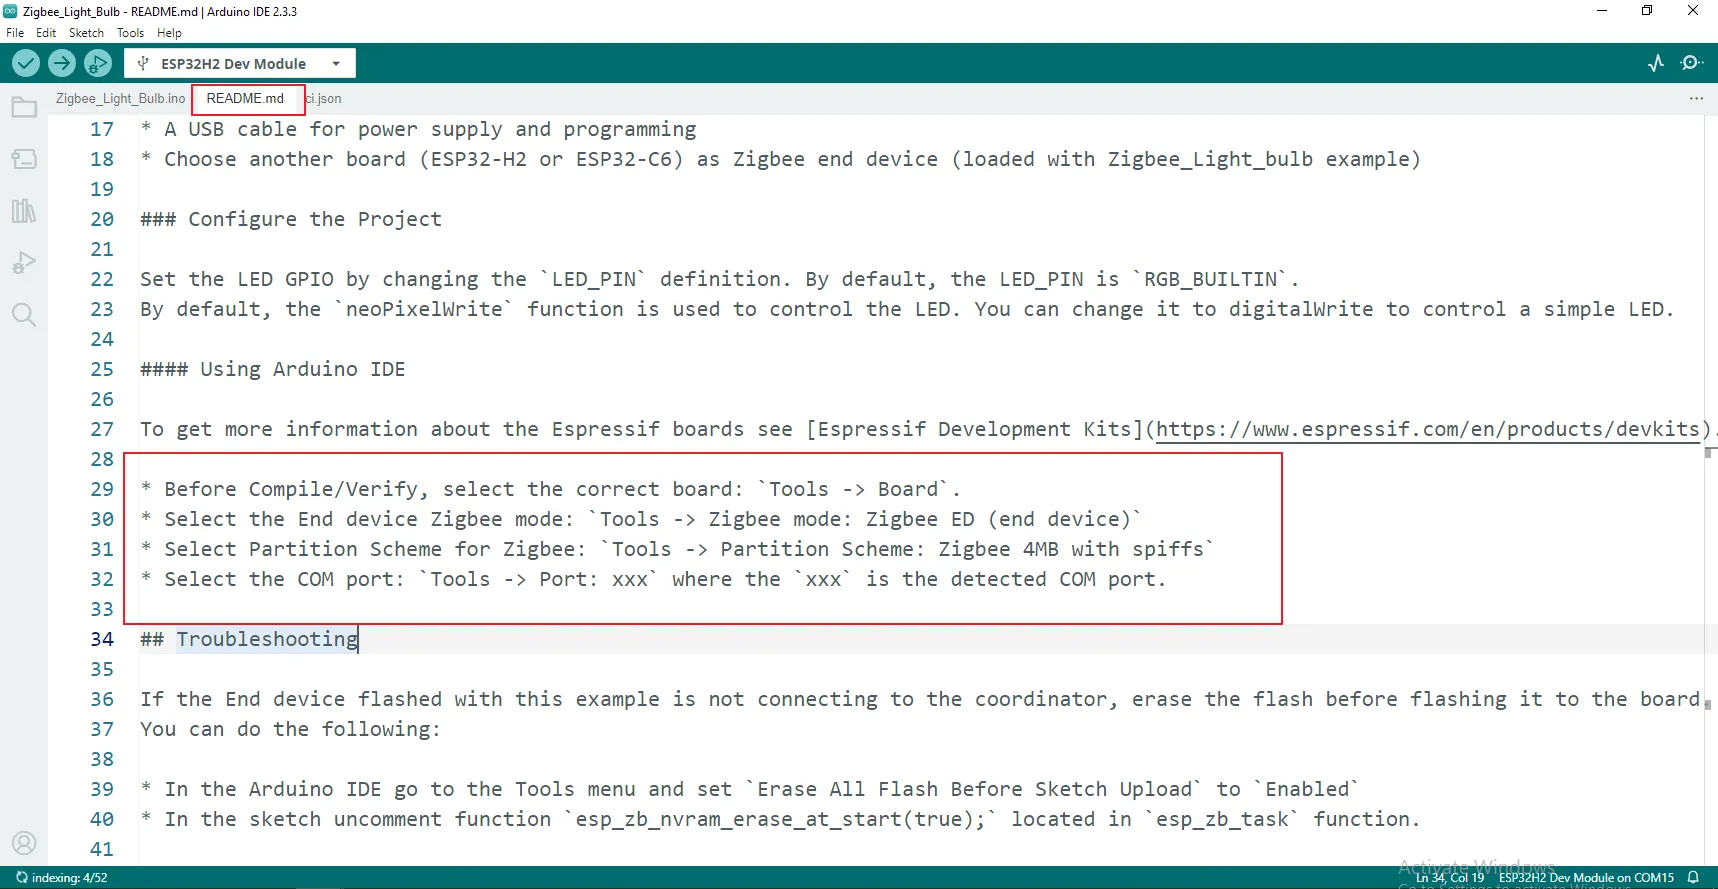
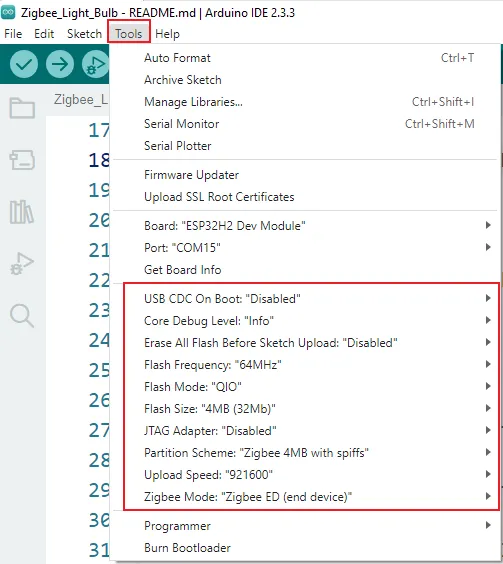
Configure the development board options according to the comments in the code.

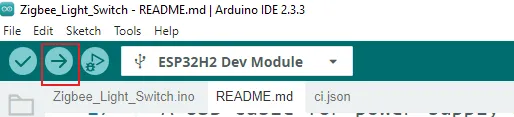
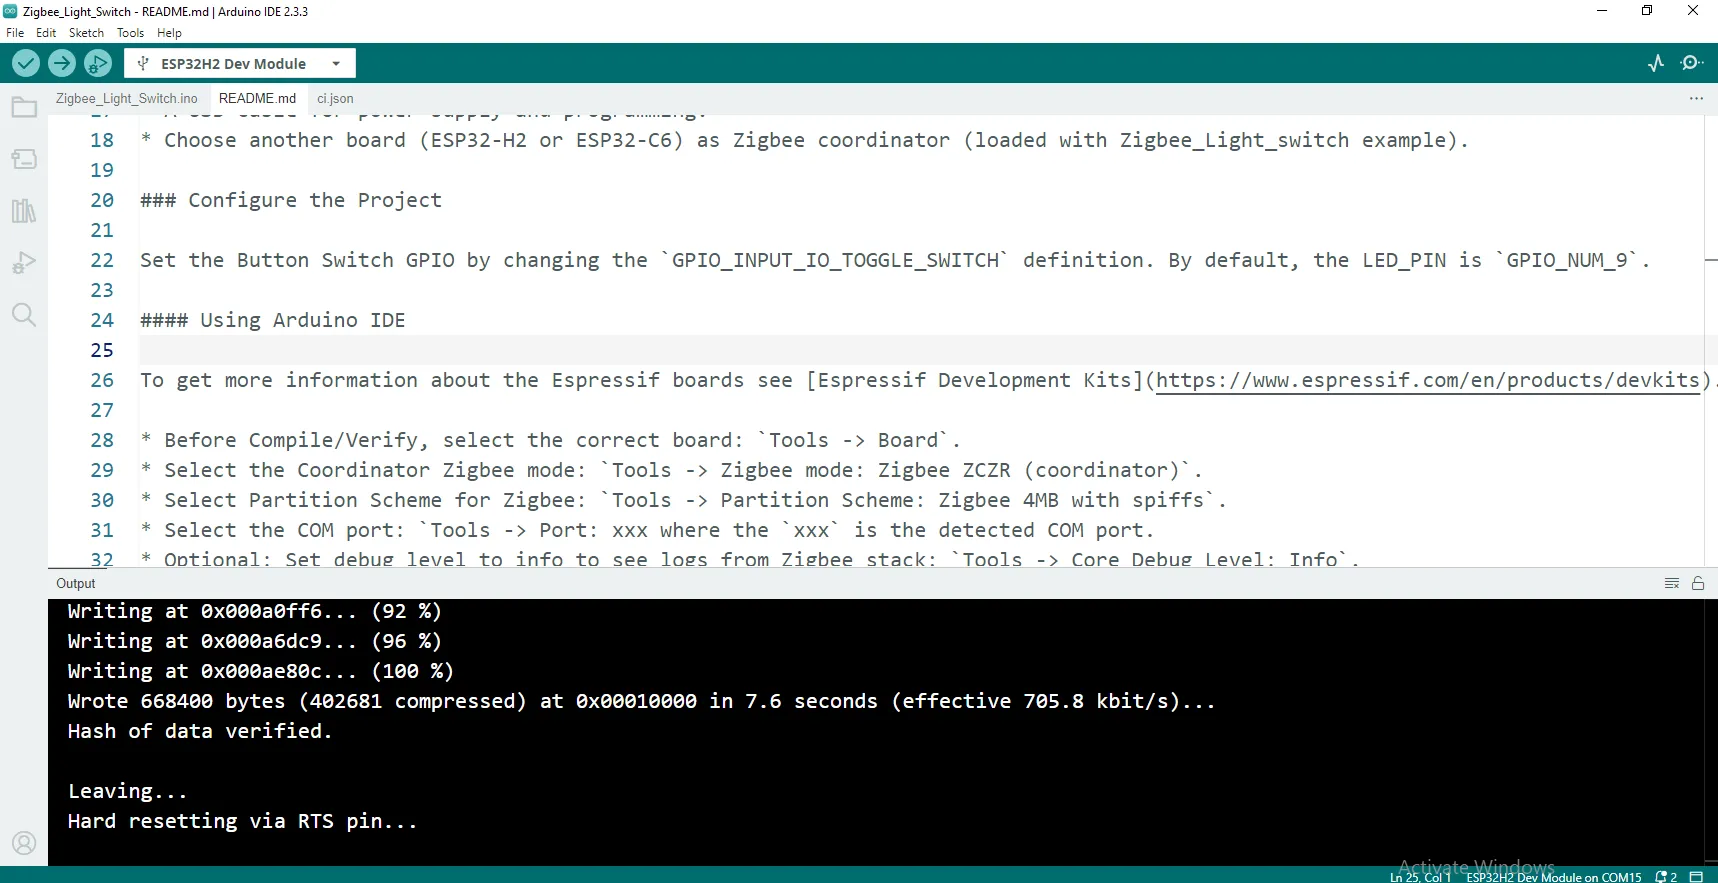
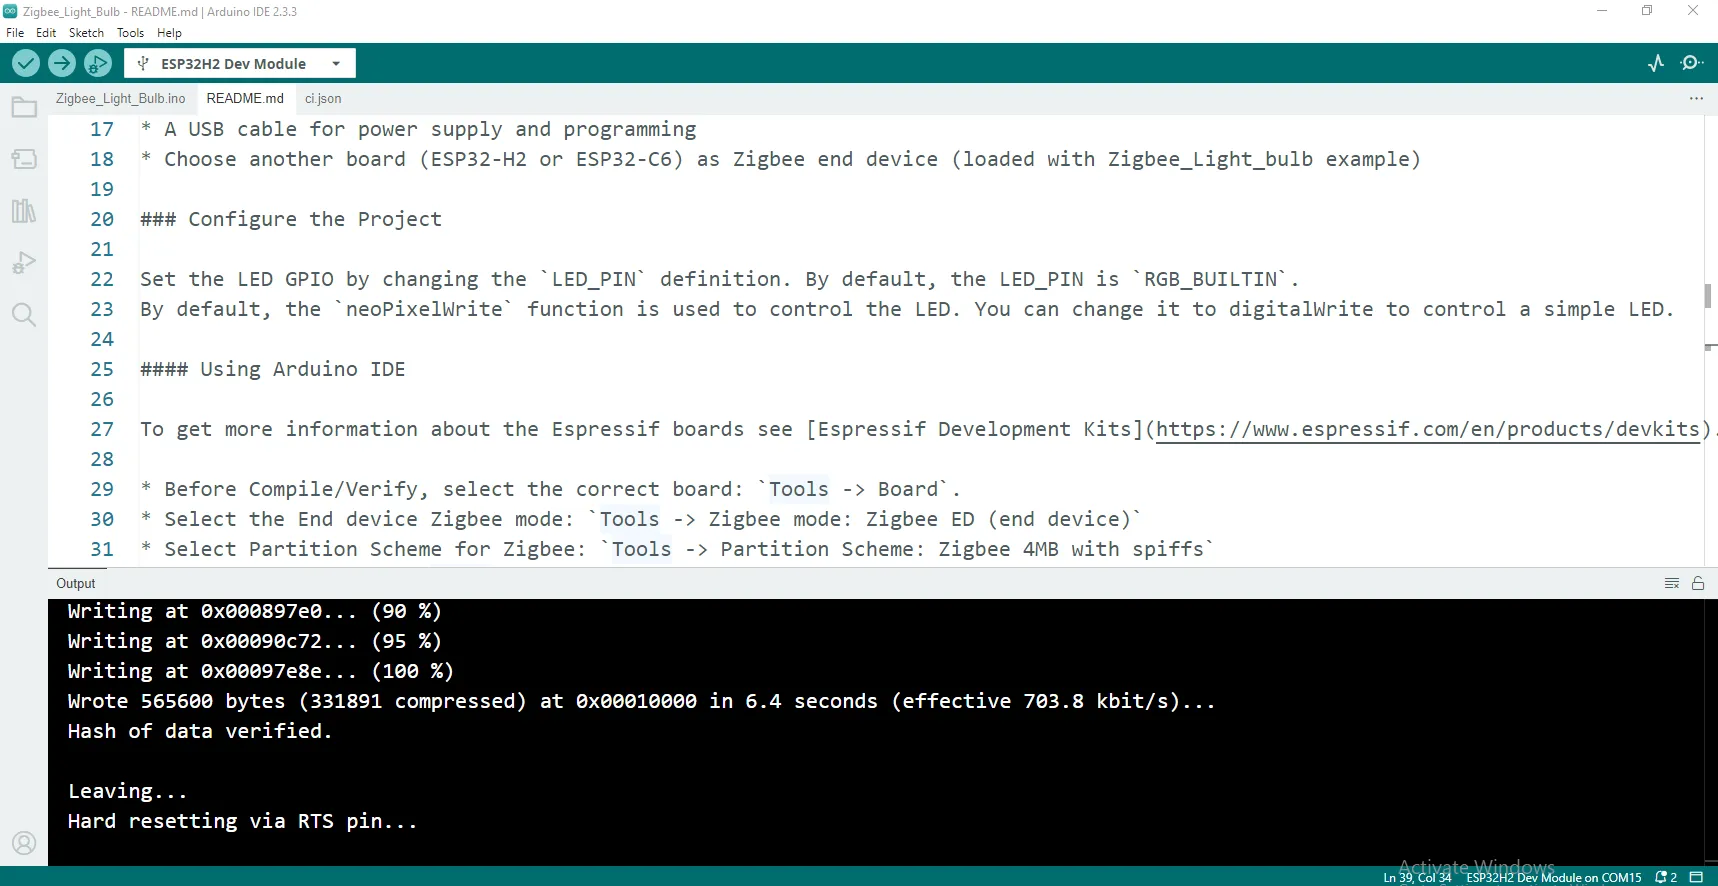
Click "Burn" and wait until the burning process is completed.
-
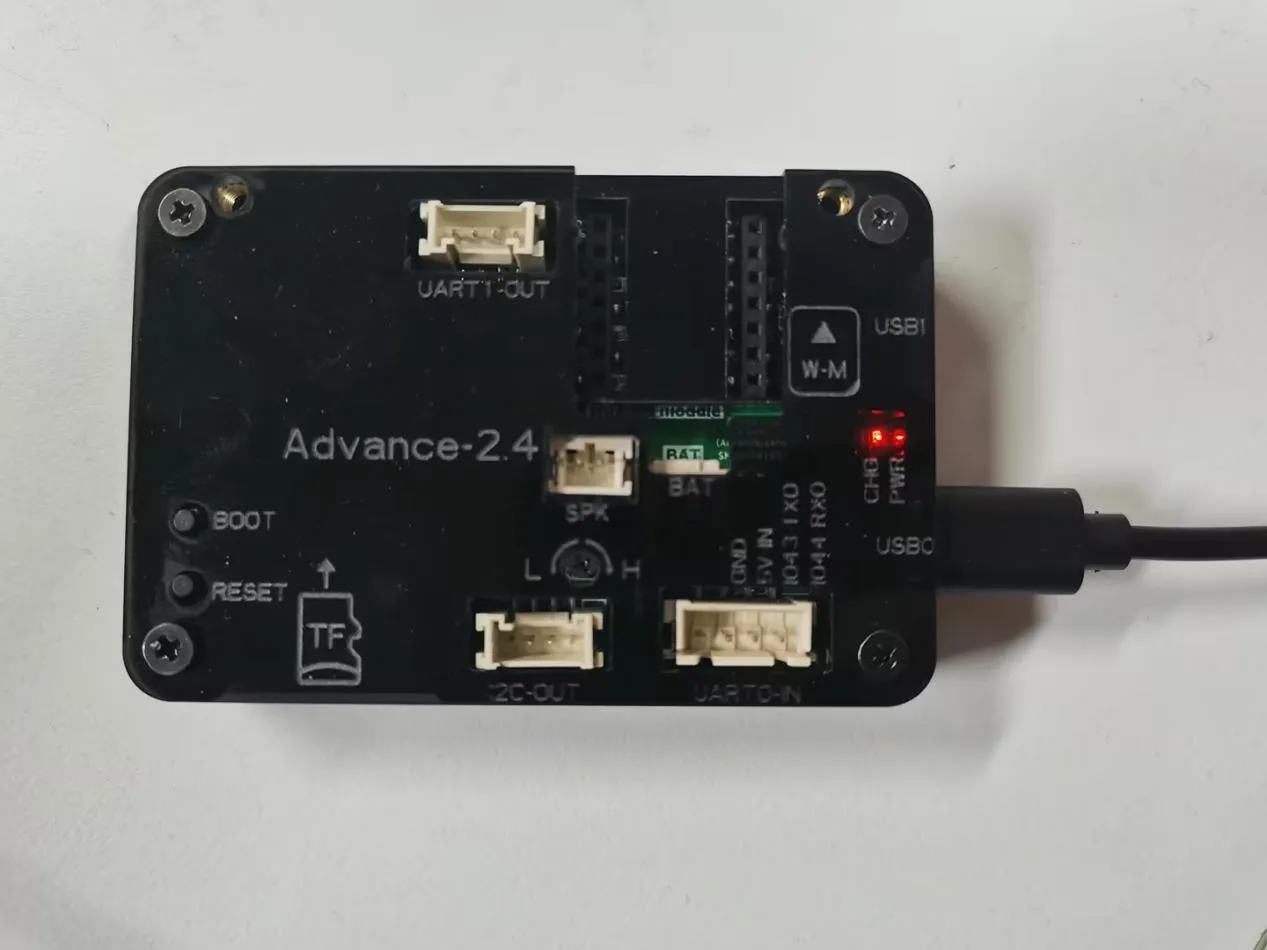
Hardware connection: Insert the ESP32-H2 module into the wireless module of the Crowpanel Advance HMI AI Display.
Then, connect the Crowpanel Advance HMI AI Display to the computer. After that, you can see the serial - port printing information of the Crowpanel Advance HMI AI Display. At this time, the coordinator will start the ZigBee network according to the burned program and wait for the terminal devices to join.
Terminal device configuration
-
Burn the program:
Insert another Wireless module into the programmer, and then connect the programmer to the computer.
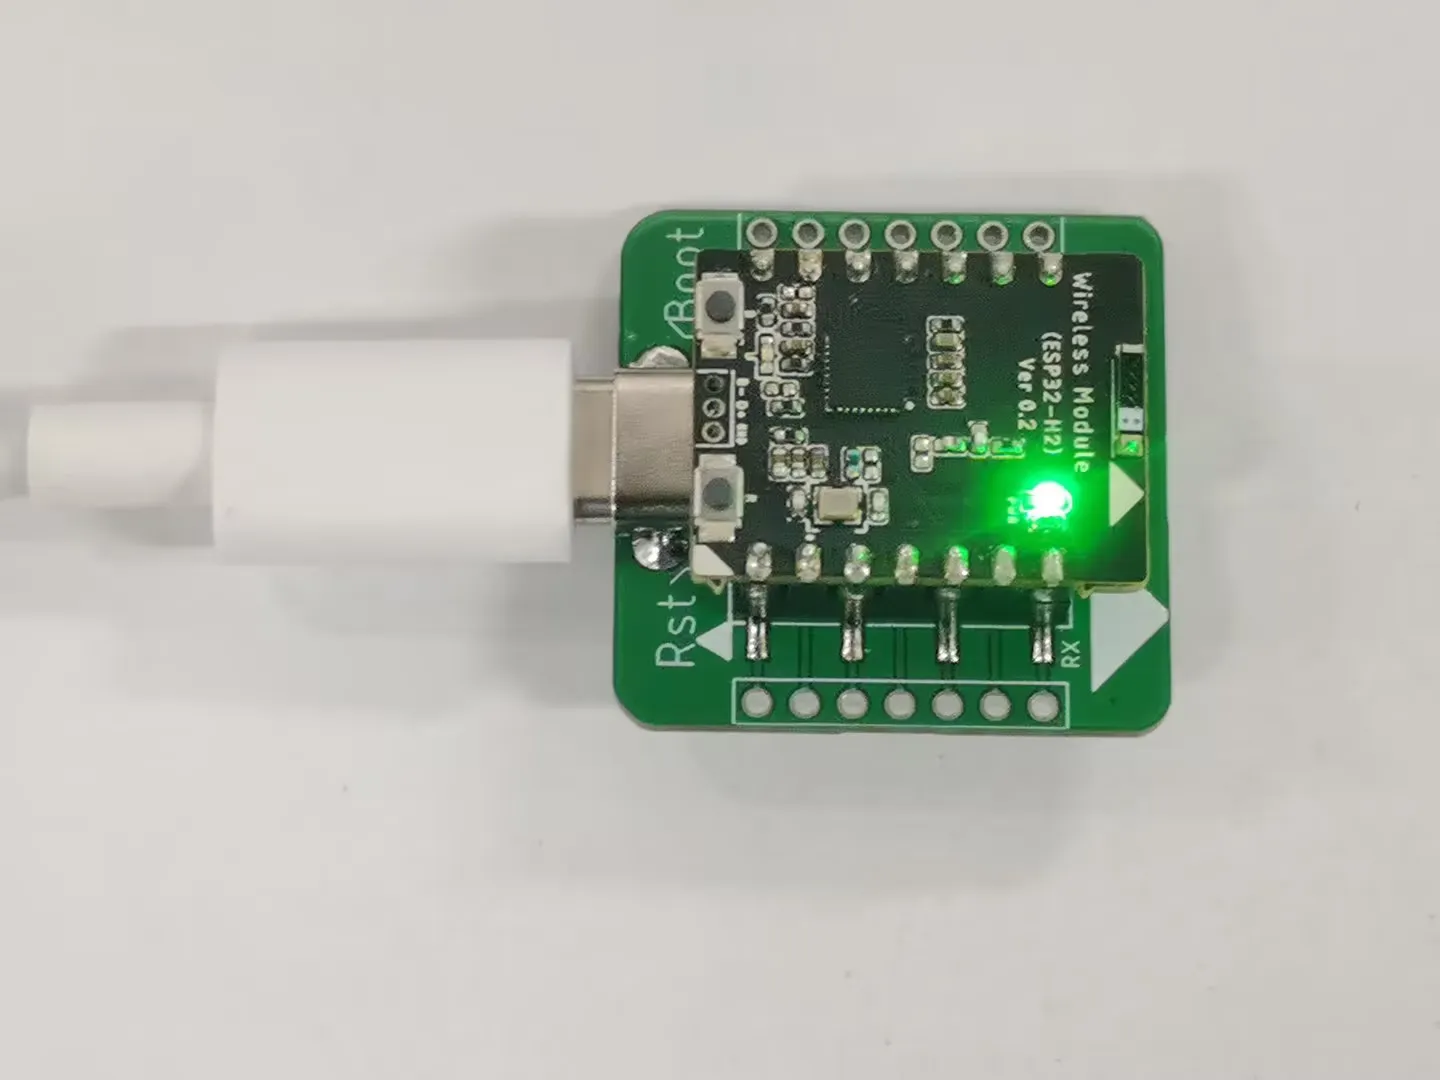
First, press and hold the "Boot" key. Then, briefly press the "Reset" key. Finally, release the "Boot" key to make the module enter the waiting-for-programming mode.

Open Arduino, and select the corresponding development board (ESP32H2 Dev Module) and the corresponding port.

Open the official example program that comes with the development board.
Configure the development board options according to the comments in the code.
Click the "Burn" button and wait for the burning process to finish.

-
Hardware connection:
Insert the ESP32-H2 module into the wireless module of another Crowpanel Advance HMI AI Display. Connect the Crowpanel Advance HMI AI Display to the computer.
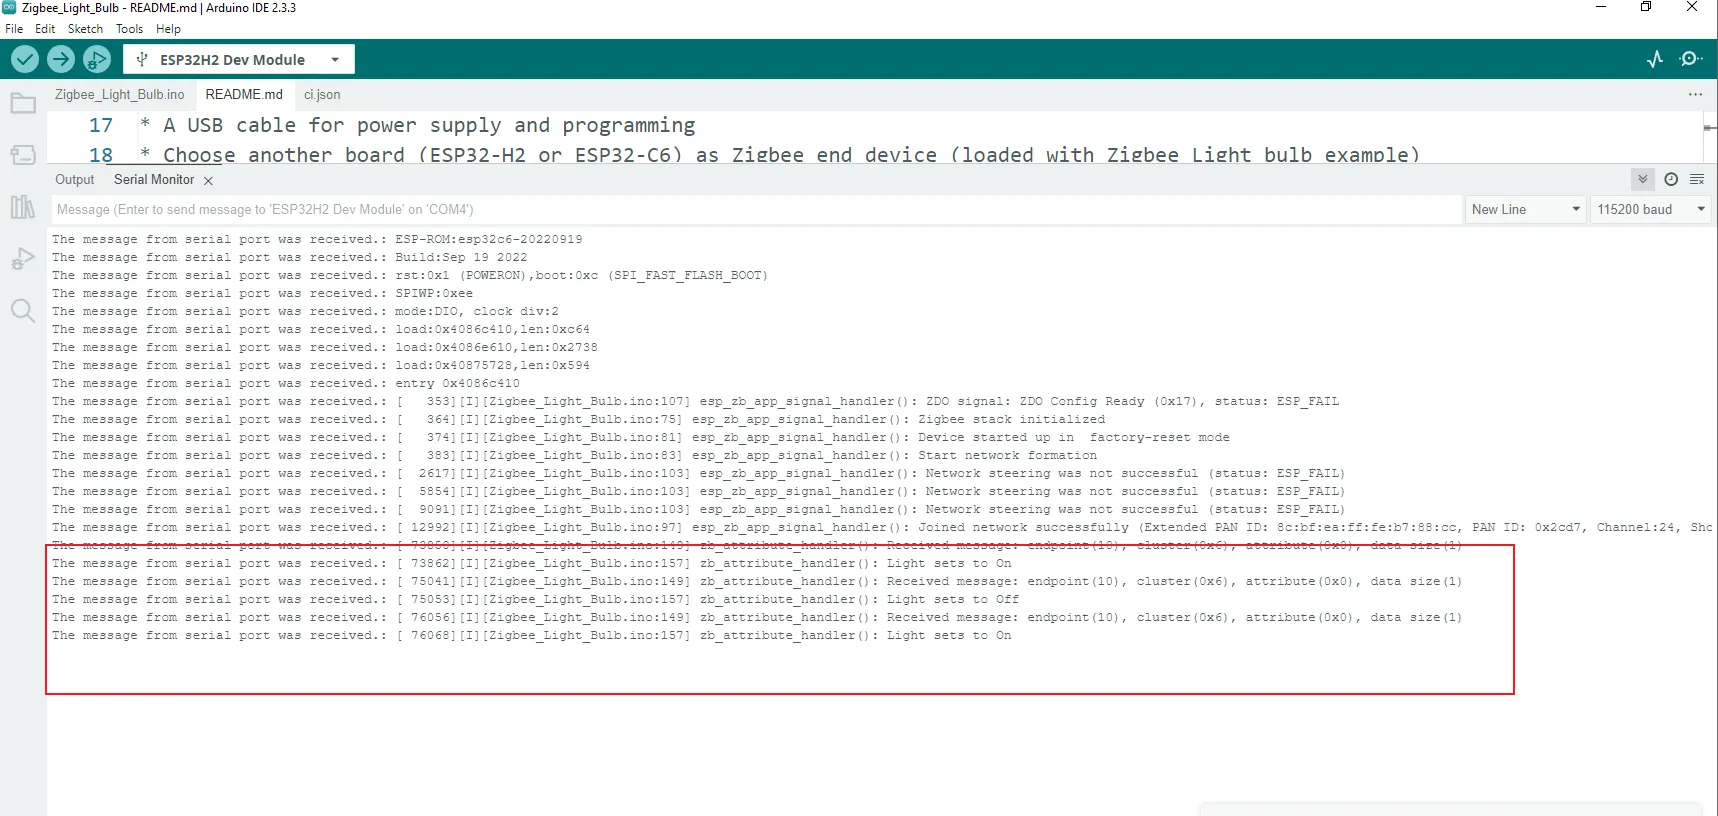
You can view the serial port printing information of the Crowpanel Advance HMI AI Display. After relevant configurations are completed and meeting the specific conditions, at this moment, the terminal device automatically joins the ZigBee network.
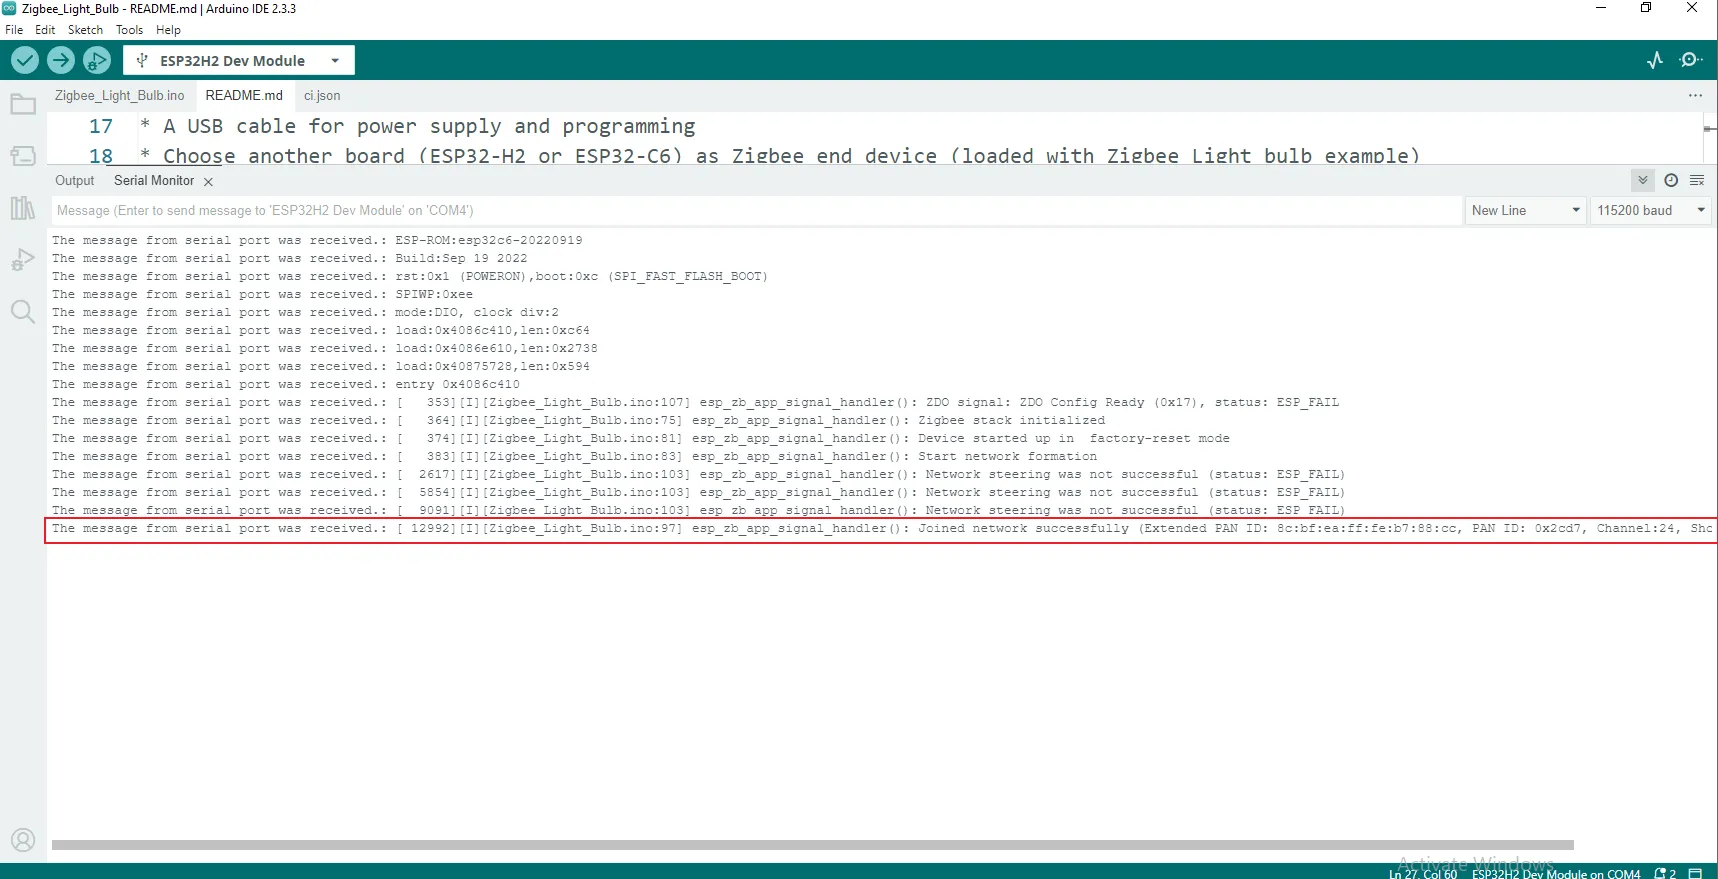
If the boot key of the coordinator is pressed, due to the pre - set program logic, the terminal will print out "turn on the light" or "turn off the light". At the same time, the terminal can also drive the light bulb connected to the terminal device to turn on or off.